
:max_bytes(150000):strip_icc():format(webp)/duet-c82ee94b39e24788bcfd51d1eea24288.jpg)
Updated 2024 Approved Navigating the Nuances of Silence Introduction and Conclusion in iMovie Videos
Navigating the Nuances of Silence Introduction and Conclusion in iMovie Videos
How to Fade Music and Audio in iMovie on Mac?

Shanoon Cox
Mar 27, 2024• Proven solutions
Fade-in and fade-out effects can help you smooth the video, music, and audio transitions, thus you can make a better movie. When editing videos in iMovie, people may have many video clips and transitions connected to the clips. The fade in and fade out effect seems more important than ever. This tutorial will show you how to fade music and audio in iMovie.
- Part 1: How to Fade Music and Audio in iMovie on Mac
- Part 2: An Easier Way to Fade Audio and Music on Mac
Apart from fading in/fading out the audio, we also want to introduce the video fade-in and fade-out effects, which will help your video to get more attention. Watch the tutorial below to get detailed information about how to fade in/fade out your videos easily.


Related : How to Fade-in and Fade-out Video Clips
After adding the fade-in and fade-out effects to your video, let’s check how to fade your music and audio in iMovie first, and then we will show you how to fade in/fade out your music and audio file in an easier way.
You may also like:
- iMovie for Windows: 10 Best iMovie Alternatives for You
- How to Add Audio to Your Videos
- How to Add Video Effects in iMovie
Part 1: How to Fade Music and Audio in iMovie on Mac
There are two ways available to fade music and audio with iMovie. One is using the fade handles, and the other is using the audio inspector. Before using iMovie audio fade-out effects, please import your video and audio files to iMovie and start a new project.
Method 1: Use Fade Handles to Add Fade in/Fade out Effect in iMovie
Firstly, let’s take a look at the video below to check how to fade audio in/out the audio in iMovie with fade handles.
Step 1. Enable Audio Waveform
When the project opens, check “Show Waveforms” at the bottom of the Project window.

Note: The Blue waveforms indicate the sound recorded within your video clips. Green and purple waveforms indicate sounds and music you’ve added to your project.
Step 2. Move Pointer to Apply Fade Effects
Move the pointer over a waveform, and drag the small gray fade handle at the left of the clip to adjust the fade audio in effect. Then drag the small fade handle at the right of the clip to adjust the fade-out effect.

Step 3. Playback to Check
Move the playhead to the beginning part of the clips with fade effects to check the fade-in and fade-out effects. If everything works OK, uncheck “Show Waveforms” to hide the waveforms.

Related: How to Remove Background Noise from Video
Method 2: Use the Audio Inspector to Apply Fade in/Fade Out Effect in iMovie
To fade audios in and out in iMovie with the audio inspector, you can follow these steps:
Step 1. Open Your iMovie Project and Select a Clip
Double-click the video clip, choose “Clip Adjustments” to open the Inspector, and then click the “Audio” tab.

If there are two audio tracks, and you want to set the fade in and fade out in iMovie for the background music, you can double-click the background music clip to open the audio inspector. This inspector is a little different. If you don’t know how to add background music to iMovie, you can refer to this post: add background music in iMovie .
Step 2. Set the Fade In and Fade Out Effect
In the window, you can manually set the fade-in and fade-out length by dragging the slider bar to the right or left.
If you do not choose “Manual”, that means you’d like iMovie to automatically set it for you. Usually, when you drag video clips to the Project, iMovie will set the fade-in and fade-out effect randomly by increasing the audio volume at the beginning of the clip and decrease the volume at the end of the clip.
If you manually adjust the effect, you can have a better effect.
Step 3. Save the Audio Fade In and Out Effect

After the settings, you can preview the effect in the viewing window to make sure all goes well, and you are much satisfied. Then click “Done” to save the audio fade-in and fade-out effects in iMovie.
Now, that’s done! I hope the above information does help you to set the fade effects to smooth your video and audio transitions.
Related: How to Get More iMovie Themes
Part 2: An Easier Way to Fade Audio and Music on Mac
Let watch the video below to check how to apply fade-in and fade-out effects in an easier way with Wondershare Filmora for Mac. And download it now to try it by yourself.
Download Mac Version ](https://tools.techidaily.com/wondershare/filmora/download/ )
If you want to quickly apply fade-in or fade-out effects, iMovie’s alternative for Mac - Wondershare Filmora can help you. It enables you to easily edit videos. After you’ve made your creation, it also allows you to directly upload the complete video file to YouTube and Vimeo for sharing. Check out the quick guide below to see how to add audio fade effects in Filmora.
Step 1. Import Your Video
Import the video clip you want to add audio in and out effect. To do this, click “File” > “Import Media” to import your local file to the user’s album. Or you can drag and drop these target files from the computer to this app’s album.
Step 2. Add the Audio Fade In/Out Effect to Your Video
Place the video onto the timeline. Double-click on it and then choose “Audio”. In the tab, you can drag the slider bar to the right or left to manually set the fade in and fade out the length.

Step 3. Save Your Video
Click the “Export” button to select one of the export methods. You can choose your desired format or mobile devices, burn it to DVD and upload it to YouTube and Vimeo.

That’s all about how to fade music and audio with iMovie and its alternative. If you want to learn more about how to edit video clips with Filmora, you can visit its YouTube channel to get more detailed information. Feel free to leave comments below if you need further assistance.
Shanoon Cox
Shanoon Cox is a writer and a lover of all things video.
Follow @Shanoon Cox
Shanoon Cox
Mar 27, 2024• Proven solutions
Fade-in and fade-out effects can help you smooth the video, music, and audio transitions, thus you can make a better movie. When editing videos in iMovie, people may have many video clips and transitions connected to the clips. The fade in and fade out effect seems more important than ever. This tutorial will show you how to fade music and audio in iMovie.
- Part 1: How to Fade Music and Audio in iMovie on Mac
- Part 2: An Easier Way to Fade Audio and Music on Mac
Apart from fading in/fading out the audio, we also want to introduce the video fade-in and fade-out effects, which will help your video to get more attention. Watch the tutorial below to get detailed information about how to fade in/fade out your videos easily.
Related : How to Fade-in and Fade-out Video Clips
After adding the fade-in and fade-out effects to your video, let’s check how to fade your music and audio in iMovie first, and then we will show you how to fade in/fade out your music and audio file in an easier way.
You may also like:
- iMovie for Windows: 10 Best iMovie Alternatives for You
- How to Add Audio to Your Videos
- How to Add Video Effects in iMovie
Part 1: How to Fade Music and Audio in iMovie on Mac
There are two ways available to fade music and audio with iMovie. One is using the fade handles, and the other is using the audio inspector. Before using iMovie audio fade-out effects, please import your video and audio files to iMovie and start a new project.
Method 1: Use Fade Handles to Add Fade in/Fade out Effect in iMovie
Firstly, let’s take a look at the video below to check how to fade audio in/out the audio in iMovie with fade handles.
Step 1. Enable Audio Waveform
When the project opens, check “Show Waveforms” at the bottom of the Project window.
Note: The Blue waveforms indicate the sound recorded within your video clips. Green and purple waveforms indicate sounds and music you’ve added to your project.
Step 2. Move Pointer to Apply Fade Effects
Move the pointer over a waveform, and drag the small gray fade handle at the left of the clip to adjust the fade audio in effect. Then drag the small fade handle at the right of the clip to adjust the fade-out effect.
Step 3. Playback to Check
Move the playhead to the beginning part of the clips with fade effects to check the fade-in and fade-out effects. If everything works OK, uncheck “Show Waveforms” to hide the waveforms.
Related: How to Remove Background Noise from Video
Method 2: Use the Audio Inspector to Apply Fade in/Fade Out Effect in iMovie
To fade audios in and out in iMovie with the audio inspector, you can follow these steps:
Step 1. Open Your iMovie Project and Select a Clip
Double-click the video clip, choose “Clip Adjustments” to open the Inspector, and then click the “Audio” tab.
If there are two audio tracks, and you want to set the fade in and fade out in iMovie for the background music, you can double-click the background music clip to open the audio inspector. This inspector is a little different. If you don’t know how to add background music to iMovie, you can refer to this post: add background music in iMovie .
Step 2. Set the Fade In and Fade Out Effect
In the window, you can manually set the fade-in and fade-out length by dragging the slider bar to the right or left.
If you do not choose “Manual”, that means you’d like iMovie to automatically set it for you. Usually, when you drag video clips to the Project, iMovie will set the fade-in and fade-out effect randomly by increasing the audio volume at the beginning of the clip and decrease the volume at the end of the clip.
If you manually adjust the effect, you can have a better effect.
Step 3. Save the Audio Fade In and Out Effect
After the settings, you can preview the effect in the viewing window to make sure all goes well, and you are much satisfied. Then click “Done” to save the audio fade-in and fade-out effects in iMovie.
Now, that’s done! I hope the above information does help you to set the fade effects to smooth your video and audio transitions.
Related: How to Get More iMovie Themes
Part 2: An Easier Way to Fade Audio and Music on Mac
Let watch the video below to check how to apply fade-in and fade-out effects in an easier way with Wondershare Filmora for Mac. And download it now to try it by yourself.
Download Mac Version ](https://tools.techidaily.com/wondershare/filmora/download/ )
If you want to quickly apply fade-in or fade-out effects, iMovie’s alternative for Mac - Wondershare Filmora can help you. It enables you to easily edit videos. After you’ve made your creation, it also allows you to directly upload the complete video file to YouTube and Vimeo for sharing. Check out the quick guide below to see how to add audio fade effects in Filmora.
Step 1. Import Your Video
Import the video clip you want to add audio in and out effect. To do this, click “File” > “Import Media” to import your local file to the user’s album. Or you can drag and drop these target files from the computer to this app’s album.
Step 2. Add the Audio Fade In/Out Effect to Your Video
Place the video onto the timeline. Double-click on it and then choose “Audio”. In the tab, you can drag the slider bar to the right or left to manually set the fade in and fade out the length.
Step 3. Save Your Video
Click the “Export” button to select one of the export methods. You can choose your desired format or mobile devices, burn it to DVD and upload it to YouTube and Vimeo.
That’s all about how to fade music and audio with iMovie and its alternative. If you want to learn more about how to edit video clips with Filmora, you can visit its YouTube channel to get more detailed information. Feel free to leave comments below if you need further assistance.
Shanoon Cox
Shanoon Cox is a writer and a lover of all things video.
Follow @Shanoon Cox
“Top 10 FREE Speech-to-Text Apps for Android & iOS, Updated 2023”
10+ Free Online Audio to Text Converters
Shanoon Cox
Mar 27, 2024• Proven solutions
An audio-to-text converter is a tool that can convert audio files to texts or even record any audio and produce the text of it simultaneously. Audio files are one of the most used methods of storing information. From online classes and long lectures to big business meetings and product information, audio is being shared a lot across the world.
But accessing information from a long audio file can be difficult and time-consuming, which is why there is a need to convert audio to text. Information in the form of text can easily be fully or partly accessed and edited whenever needed. And texts can also easily be shared with whomever you want.
So let’s have a look at some of the best audio-to-text converters that might be of use to you.
10+ Free Online Audio to Text Converters
There is number of audio text converters available in the online market that can help you while studying, researching, or even in your business. Some of these recorders can convert any audio file to texts while some others can record and convert to text at the same time. Here we will talk about the top 11 free applications that can be used to convert audio to text.
| 1 - Filmora | 2 - Audext | 3 - Sonix.ai |
|---|---|---|
| 4 - Virtualspeech.com | 5 - Speechnotes | 6 - SpeechTexter |
| 7 - Textfromtospeech.com | 8 - Dictation.io | 9 - Voice Note |
| 10 - Voice Notebook | 11 - NaturalReaders |
1. Wondershare Filmora
Filmora’s Speech To Text (STT) function allows you to transcript audio/voice to subtitles/text in one click. it can save your plenty of time on transcribing subtitles and boost your editing efficiency by applying speech-to-text.
What you need to do is download the software and subsribe for its plan.
Features
- Built-in function to transcribe subtitles and captions for your video
- High accuracy in generating text, allows you to edit text by yourself
- Supports up to 26 languages of transcription to engage more users all around the world
- Offers various tools for editing your videos and audio
2. Audext
Audext is a free online application that can help you to save a lot of time while transcribing any audio to text. The transcription to text is done with the use of an advanced AI and hence produces faster and more accurate results.
Audext is used by people from different sectors like education, marketing, media, consulting, healthcare, etc. for their work purposes.

Features
- An inbuilt editor for editing the text while transcribing
- Identifies the speaker easily
- Supports a variety of audio and video formats like MP3, WAV, MP4, etc.
- Offers an option of easy upload and export of files
Pricing
- Free
- Transcription costs for one hour are $12
- Or with the subscription $5
3. Sonix.ai
Sonix is a fast and accurate application that can be used to convert audio to text for any purpose. This application offers a 30-minute free transcription after which an affordable amount may be charged.
Features
- Automatic transcription of files and accessibility of these files from any device
- Advanced translation of these devices into 30 different languages
- Addition of subtitles into any video for easy understanding
- A Sonix media player that allows to share and publish files easily
Pricing
- Free
- Standard subscription - $10 per hour
- Premium subscription - $5 per hour, and an addition of $22 per month
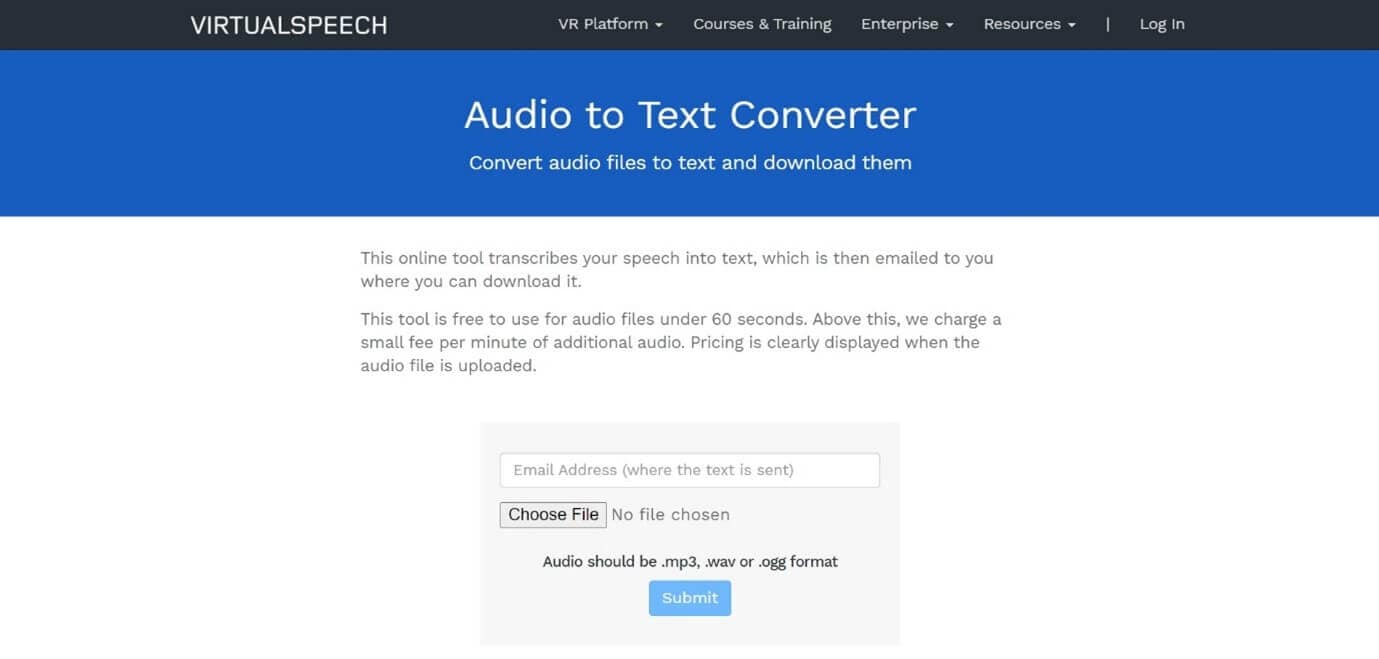
4. Virtualspeech.com
Virtualspeech is an online tool that can transcribe audio to text free. It is a very simple application that allows fats conversion of audio files to texts. After conversion, the file will be emailed to the user from where it can be downloaded and saved.
Features
- Free conversion of any audio files under 1 minute.
- Conversion of audio files of formats Mp3, Wav, or Ogg.
- Provides security as the no files are stored on the server and the site is secured with a b SSL
- Speech to text converter within the site
Pricing
- $0.50 per minute after the free minute

Filmora Audio to Text Converter
Filmora - Audio to Text Converter
• Enables you to convert video speech to text in one click
• Extremely accurate in video speech recognition
• Cross-platform supported - (Windows, Mac, iOS, Android)
Transcribe Audio to Text Free Transcribe Audio to Text Free Transcribe Audio to Text Free Learn More >
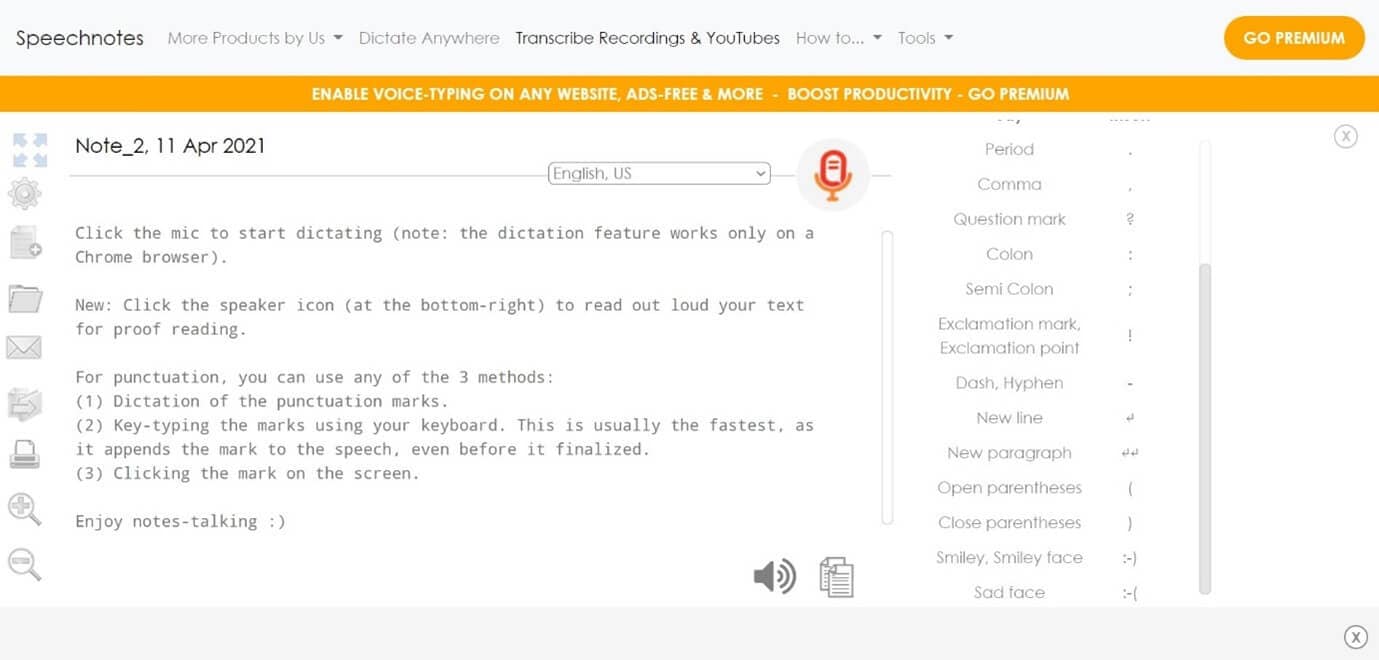
5. Speechnotes
Speechnotes is a powerful online notepad that can easily convert audio to text. This tool has implemented an efficient and clean design that makes conversion and editing very easy.
Features
- Best results with an advanced speech recognition technology
- Built-in tools that allow easy editing and correction of the converted text
- Fast working on any web browser and no installation apps required
- Autosave feature that ensures that your data is not lost
- Export to Google Drive option for easy accessibility from any device
Pricing
- Free
- Premium version with the addition of some extra features
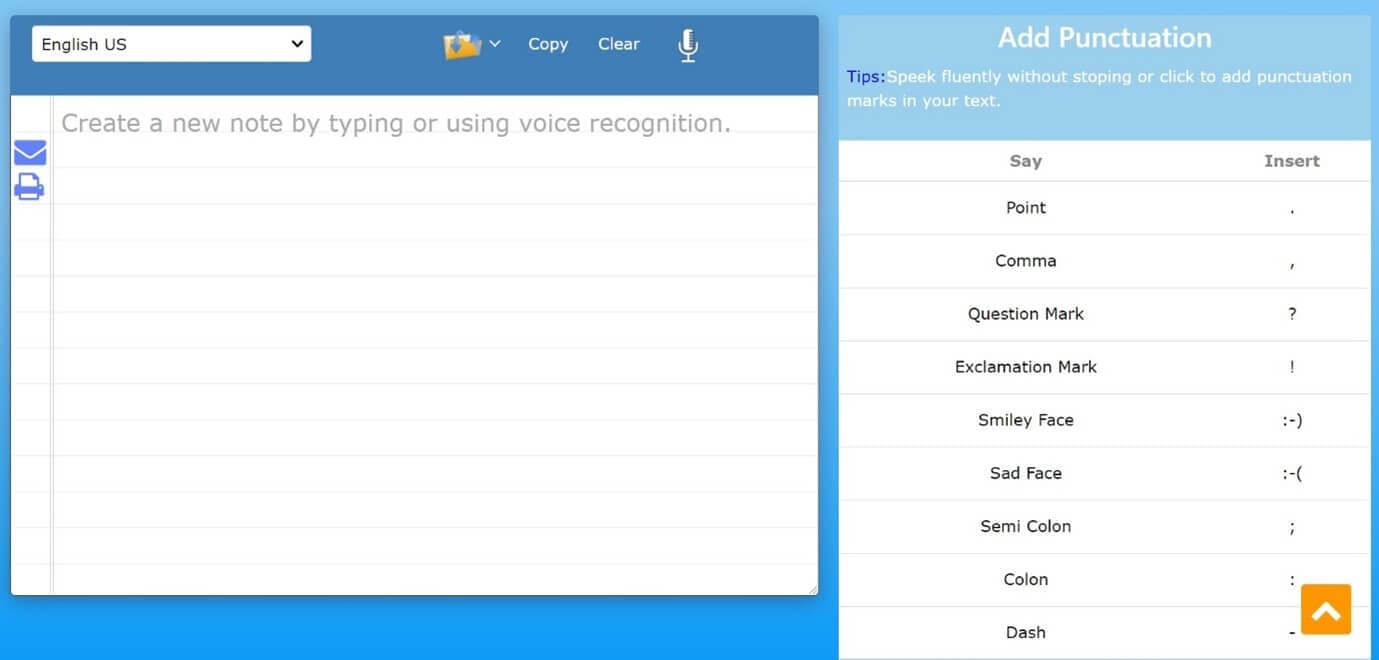
6. SpeechTexter
SpeechTexter is a multilingual application that can help you transcribe any type of book, document, blog posts, etc. by using your audio. This tool has a custom dictionary that allows adding short commands for adding frequently used data like phone numbers, punctuation marks, addresses, etc.

Features
- Offers accuracy rate of 90 to 95% percent
- Can be used to increase your fluency in English
- Offers powerful real-time speech recognition
- Easy creation of emails, text notes, blog posts, etc.
- A custom dictionary that can be customized according to the individual use
- Supports more than 60 languages
- Available on both chrome browser and android
Pricing
- Free
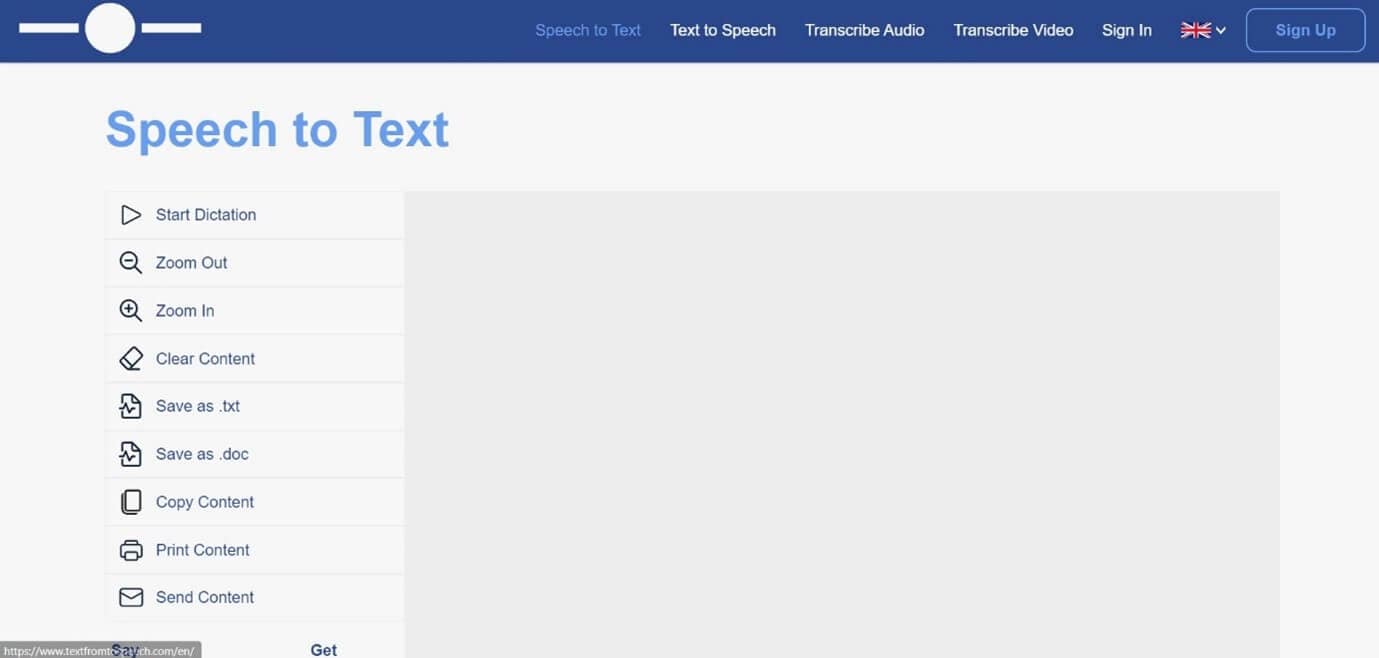
7. Textfromtospeech.com
Textfromtospeech is a free online tool that allows you to easily convert audio to text without the need for registration downloading or installation. It has a very simple interface that can record and convert your speech into text with a single click.
Features
- Free and online text recognition and transcription
- Supports many languages
- Pause and record option while converting large files
- Can use voice commands for insertion of symbols like “comma”, “full stop”, etc.
- Smart capitalization
- Easy saving, copying, and sharing of the dictated text
- Available on mobile devices, tablet, and computer
Pricing
- Free
![]()
A cross-platform for making videos anywhere for all creators

Why your video editing isn’t good enough? How about some creative inspo?
- 100 Million+ Users
- 150+ Countries and Regions
- 4 Million+ Social Media Followers
- 5 Million+ Stock Media for Use
* Secure Download

8. Dictation.io
Dictation is a free and simple tool that offers fast conversion of audio to text. Its interface is like that of a very simple notepad and allows the conversion of audio to text for a number of languages including English, Español, Français, Italiano, Português, and more.

Features
- Advanced speech recognition
- Easy editing within the notes
- Easy sharing to mail, tweets, etc.
- No storing of any data and hence offers the necessary security
Pricing
- Free
9. Voice Note
Voice Note is an online speech recognition tool that can automatically record and type anything including speech, interview, etc. This tool can convert any audio file into text format which can easily be opened in Microsoft Word.
Features
- No saving of data in any servers
- Customizable options for audio and text
- A number of languages to choose from while converting audio to text
- Easy copying and exporting options
- Direct Print option from the site
Price
- Free
10. Voice Notebook
Voice Notebook is a speech recognition app that can also convert audio files to text. This application is compatible with a wide range of devices like Mac, Windows, Linux OS, Android, and iOS.
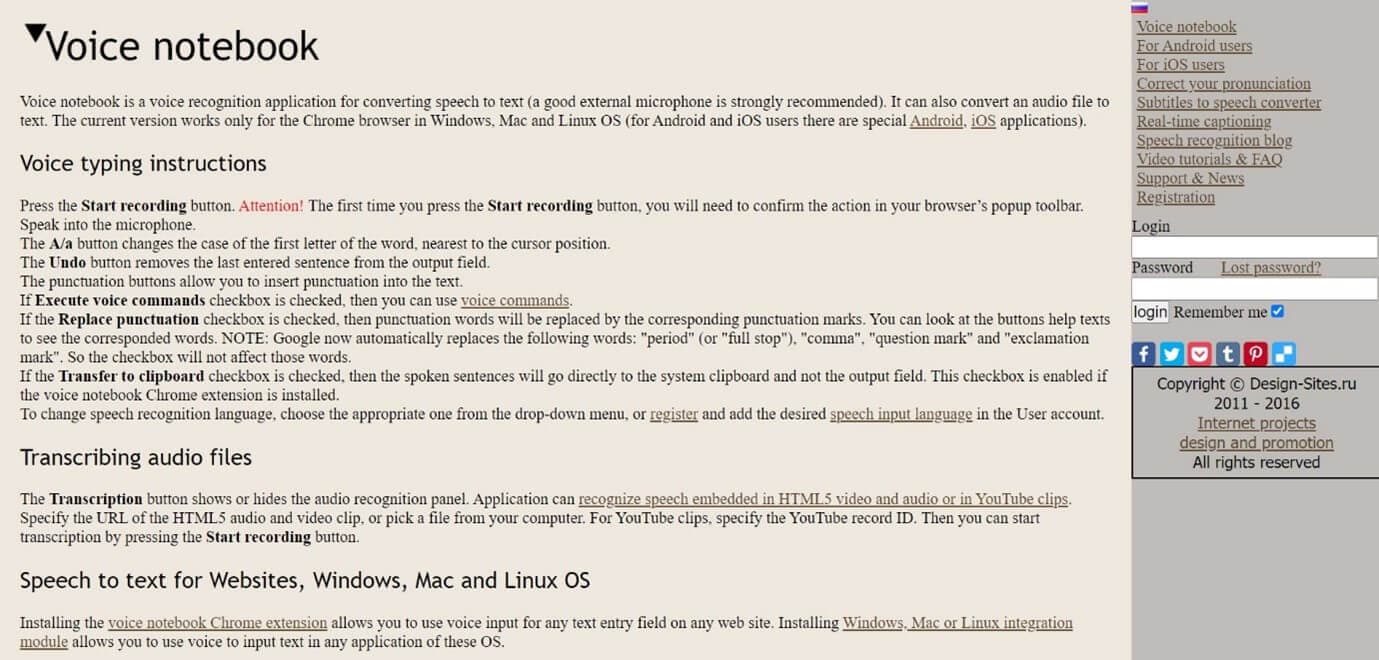
Features
- Voice commands are available when you transcribe audio to text
- Has the ability to recognize any speech embedded in YouTube clips or HTML5 audio or video
- Simple interface and easy editing of text
- An option to download into TXT format is available
Price
- Free
11. NaturalReaders
Natural Readers is a professional program that can convert any text into spoken words. This program offers a lot of features like adjusting the speed of audio, conversion into mp3, selection of voice, etc.
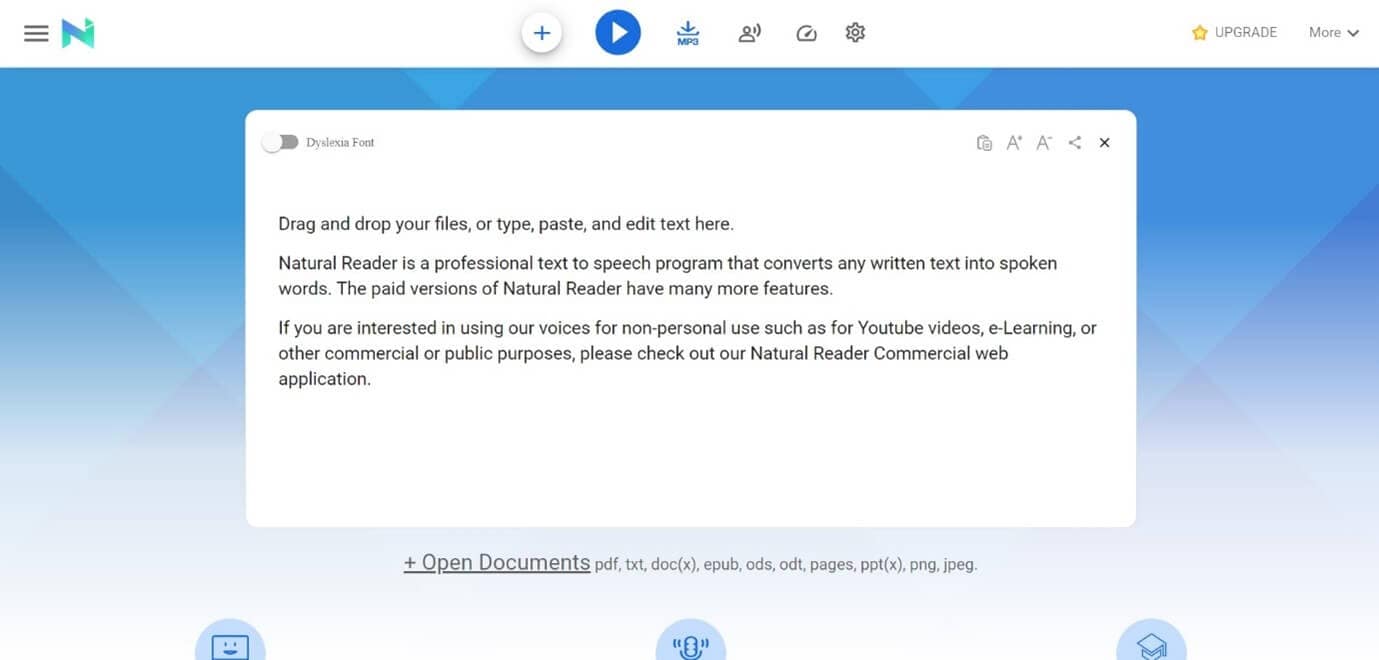
Features
- A font option available for dyslexic people
- Supports formats like pdf, txt, docs, epub, ods, ppt, png, jpeg
- App versions of this online tool are available both for android and apple devices
Pricing
- Free
- Premium plan - $9.99 per month, $59.88 per year
- Plus plan - $19.00 per month, $110.00 per year
Filmora Audio to Text Converter
Filmora - Audio to Text Converter
• Enables you to convert video speech to text in one click
• Extremely accurate in video speech recognition
• Cross-platform supported - (Windows, Mac, iOS, Android)
Transcribe Audio to Text Free Transcribe Audio to Text Free Transcribe Audio to Text Free Learn More >
Conclusion
We have listed above the top 11 tools that can be used to convert audio to text on any device using a browser. Converting audio to text allows you to easily access the required information, edit it, or even share it fully or partially with anyone you wish,
The applications we have listed are free and some of them might charge for the extra features they provide. So no matter what your profession is if you are looking for an app to convert audio to text or record and produce the text of the recordings, choose any one of the listed above applications.
We hope our suggestions help you reduce effort and save time. Please leave your valuable feedback in the comment box below, thank you.
Transform Long Videos into Short Ones Instantly
Turn long videos into viral clips. Effortlessly transform lengthy videos into engaging, shareable clips.

Shanoon Cox
Shanoon Cox is a writer and a lover of all things video.
Follow @Shanoon Cox
Shanoon Cox
Mar 27, 2024• Proven solutions
An audio-to-text converter is a tool that can convert audio files to texts or even record any audio and produce the text of it simultaneously. Audio files are one of the most used methods of storing information. From online classes and long lectures to big business meetings and product information, audio is being shared a lot across the world.
But accessing information from a long audio file can be difficult and time-consuming, which is why there is a need to convert audio to text. Information in the form of text can easily be fully or partly accessed and edited whenever needed. And texts can also easily be shared with whomever you want.
So let’s have a look at some of the best audio-to-text converters that might be of use to you.
10+ Free Online Audio to Text Converters
There is number of audio text converters available in the online market that can help you while studying, researching, or even in your business. Some of these recorders can convert any audio file to texts while some others can record and convert to text at the same time. Here we will talk about the top 11 free applications that can be used to convert audio to text.
| 1 - Filmora | 2 - Audext | 3 - Sonix.ai |
|---|---|---|
| 4 - Virtualspeech.com | 5 - Speechnotes | 6 - SpeechTexter |
| 7 - Textfromtospeech.com | 8 - Dictation.io | 9 - Voice Note |
| 10 - Voice Notebook | 11 - NaturalReaders |
1. Wondershare Filmora
Filmora’s Speech To Text (STT) function allows you to transcript audio/voice to subtitles/text in one click. it can save your plenty of time on transcribing subtitles and boost your editing efficiency by applying speech-to-text.
What you need to do is download the software and subsribe for its plan.
Features
- Built-in function to transcribe subtitles and captions for your video
- High accuracy in generating text, allows you to edit text by yourself
- Supports up to 26 languages of transcription to engage more users all around the world
- Offers various tools for editing your videos and audio
2. Audext
Audext is a free online application that can help you to save a lot of time while transcribing any audio to text. The transcription to text is done with the use of an advanced AI and hence produces faster and more accurate results.
Audext is used by people from different sectors like education, marketing, media, consulting, healthcare, etc. for their work purposes.
Features
- An inbuilt editor for editing the text while transcribing
- Identifies the speaker easily
- Supports a variety of audio and video formats like MP3, WAV, MP4, etc.
- Offers an option of easy upload and export of files
Pricing
- Free
- Transcription costs for one hour are $12
- Or with the subscription $5
3. Sonix.ai
Sonix is a fast and accurate application that can be used to convert audio to text for any purpose. This application offers a 30-minute free transcription after which an affordable amount may be charged.
Features
- Automatic transcription of files and accessibility of these files from any device
- Advanced translation of these devices into 30 different languages
- Addition of subtitles into any video for easy understanding
- A Sonix media player that allows to share and publish files easily
Pricing
- Free
- Standard subscription - $10 per hour
- Premium subscription - $5 per hour, and an addition of $22 per month
4. Virtualspeech.com
Virtualspeech is an online tool that can transcribe audio to text free. It is a very simple application that allows fats conversion of audio files to texts. After conversion, the file will be emailed to the user from where it can be downloaded and saved.
Features
- Free conversion of any audio files under 1 minute.
- Conversion of audio files of formats Mp3, Wav, or Ogg.
- Provides security as the no files are stored on the server and the site is secured with a b SSL
- Speech to text converter within the site
Pricing
- $0.50 per minute after the free minute
Filmora Audio to Text Converter
Filmora - Audio to Text Converter
• Enables you to convert video speech to text in one click
• Extremely accurate in video speech recognition
• Cross-platform supported - (Windows, Mac, iOS, Android)
Transcribe Audio to Text Free Transcribe Audio to Text Free Transcribe Audio to Text Free Learn More >
5. Speechnotes
Speechnotes is a powerful online notepad that can easily convert audio to text. This tool has implemented an efficient and clean design that makes conversion and editing very easy.
Features
- Best results with an advanced speech recognition technology
- Built-in tools that allow easy editing and correction of the converted text
- Fast working on any web browser and no installation apps required
- Autosave feature that ensures that your data is not lost
- Export to Google Drive option for easy accessibility from any device
Pricing
- Free
- Premium version with the addition of some extra features
6. SpeechTexter
SpeechTexter is a multilingual application that can help you transcribe any type of book, document, blog posts, etc. by using your audio. This tool has a custom dictionary that allows adding short commands for adding frequently used data like phone numbers, punctuation marks, addresses, etc.
Features
- Offers accuracy rate of 90 to 95% percent
- Can be used to increase your fluency in English
- Offers powerful real-time speech recognition
- Easy creation of emails, text notes, blog posts, etc.
- A custom dictionary that can be customized according to the individual use
- Supports more than 60 languages
- Available on both chrome browser and android
Pricing
- Free
7. Textfromtospeech.com
Textfromtospeech is a free online tool that allows you to easily convert audio to text without the need for registration downloading or installation. It has a very simple interface that can record and convert your speech into text with a single click.
Features
- Free and online text recognition and transcription
- Supports many languages
- Pause and record option while converting large files
- Can use voice commands for insertion of symbols like “comma”, “full stop”, etc.
- Smart capitalization
- Easy saving, copying, and sharing of the dictated text
- Available on mobile devices, tablet, and computer
Pricing
- Free
![]()
A cross-platform for making videos anywhere for all creators
Why your video editing isn’t good enough? How about some creative inspo?
- 100 Million+ Users
- 150+ Countries and Regions
- 4 Million+ Social Media Followers
- 5 Million+ Stock Media for Use
* Secure Download
8. Dictation.io
Dictation is a free and simple tool that offers fast conversion of audio to text. Its interface is like that of a very simple notepad and allows the conversion of audio to text for a number of languages including English, Español, Français, Italiano, Português, and more.
Features
- Advanced speech recognition
- Easy editing within the notes
- Easy sharing to mail, tweets, etc.
- No storing of any data and hence offers the necessary security
Pricing
- Free
9. Voice Note
Voice Note is an online speech recognition tool that can automatically record and type anything including speech, interview, etc. This tool can convert any audio file into text format which can easily be opened in Microsoft Word.
Features
- No saving of data in any servers
- Customizable options for audio and text
- A number of languages to choose from while converting audio to text
- Easy copying and exporting options
- Direct Print option from the site
Price
- Free
10. Voice Notebook
Voice Notebook is a speech recognition app that can also convert audio files to text. This application is compatible with a wide range of devices like Mac, Windows, Linux OS, Android, and iOS.
Features
- Voice commands are available when you transcribe audio to text
- Has the ability to recognize any speech embedded in YouTube clips or HTML5 audio or video
- Simple interface and easy editing of text
- An option to download into TXT format is available
Price
- Free
11. NaturalReaders
Natural Readers is a professional program that can convert any text into spoken words. This program offers a lot of features like adjusting the speed of audio, conversion into mp3, selection of voice, etc.
Features
- A font option available for dyslexic people
- Supports formats like pdf, txt, docs, epub, ods, ppt, png, jpeg
- App versions of this online tool are available both for android and apple devices
Pricing
- Free
- Premium plan - $9.99 per month, $59.88 per year
- Plus plan - $19.00 per month, $110.00 per year
Filmora Audio to Text Converter
Filmora - Audio to Text Converter
• Enables you to convert video speech to text in one click
• Extremely accurate in video speech recognition
• Cross-platform supported - (Windows, Mac, iOS, Android)
Transcribe Audio to Text Free Transcribe Audio to Text Free Transcribe Audio to Text Free Learn More >
Conclusion
We have listed above the top 11 tools that can be used to convert audio to text on any device using a browser. Converting audio to text allows you to easily access the required information, edit it, or even share it fully or partially with anyone you wish,
The applications we have listed are free and some of them might charge for the extra features they provide. So no matter what your profession is if you are looking for an app to convert audio to text or record and produce the text of the recordings, choose any one of the listed above applications.
We hope our suggestions help you reduce effort and save time. Please leave your valuable feedback in the comment box below, thank you.
Transform Long Videos into Short Ones Instantly
Turn long videos into viral clips. Effortlessly transform lengthy videos into engaging, shareable clips.
Shanoon Cox
Shanoon Cox is a writer and a lover of all things video.
Follow @Shanoon Cox
Reimagining Siri’s Vocal Identity: Altering the Assistant’s Tone and Pitch
iPhone offers a lot of different features that other mobiles don’t provide. There is a reason why people prefer using iPhone. The different versions of the iPhone have different and advanced features. The sleek and stylish body is another factor why people want to have iPhone. Do you know any other interesting thing about Apple?
If you don’t know, then let us tell you something worth knowing. Apple offers a Siri feature in all its devices. Whether you are an iPhone, iPad, or Mac user, Siri is there to help you stay connected to the world without even lifting a finger. You can make calls and send text messages with Siri. If you want to learn more about Siri and Siri voice changer, then let’s get started.
In this article
01 How to Change Siri Voice on iPhone and iPad?
02 How to Change Siri Voice on Mac?
03 3 Nice Voice Changer to Help You Do Siri Voice
For Win 7 or later (64-bit)
For macOS 10.12 or later
Part 1. How to Change Siri Voice on iPhone and iPad?
Whether you are driving, cooking, or whatever, there are various things that Siri can do to help you. Without lifting your finger, your tasks are done with Siri. An interesting thing with Siri is that you can select your preferred language style along with a voice that you like.
It is not at all difficult to change Siri’s voice on iPhone or iPad, but new iPhone/iPad users might get confused. Let us help you hereby sharing the steps to change Siri voice on your Apple device.
Step 1: To change Siri Voice, you need to start by opening the ‘Settings’ app on your iPhone/iPad. Once that is opened, scroll down and look for ‘Siri & Search.’ Tap on it when you locate it.

Step 2: Now, the ‘Siri & Search’ menu will appear on the screen. Here, you need to look for the ‘Siri Voice’ option and then select it.

Step 3: It’s time to change Siri’s voice. Start by selecting your accent under the ‘Variety’ section. You get American, British, Australian, Indian, Irish, and also South African accents.

Step 4: After you have selected a variety, it’s now time to select a ‘Voice’ from the given options. You can listen and choose your desired male or female voice. Your device will take some time to download the voice. Once that’s done, you are good to go.

Part 2. How to Change Siri Voice on Mac?
The amazing Siri function is not just for iPhone and iPad users, but Mac users can also get a great benefit from it. You can manage your small tasks with Siri without any trouble. It is ideal for everyday tasks. You can quickly make calls, send text messages, play your favorite music, and a lot more things could be done with Siri.
This section is for you for any Mac user who wants to change Siri Voice on their device but doesn’t know how to do it. Just follow the steps shared below to change Siri Voice on your MacBook.
Step 1: Start by opening the ‘System Preferences’ section from the Dock. You can also open it by firstly clicking on the Apple Menu and then, from the dropdown menu, select ‘System Preferences.’

Step 2: At this point, a new screen for System Preferences will appear. From that, you have to select the ‘Siri’ option. Now comes the fun part where you have to select the voice variety for your Siri. From the ‘Siri’ screen, click on ‘Voice Variety’ and select your desired voice variety from the list of options.

Step 3: After the voice variety, next is the voice, and for that, hit the ‘Siri Voice’ option. Here, you can select the vocals’ gender, the accent, and you are all done. Keep one thing in mind that not all voice varieties offer different voice options.

Part 3. 3 Nice Voice Changer to Help You Do Siri Voice
As much as Siri is helpful, you can also have equal fun with it. Do you know how that is possible? Have you ever heard about any Siri voice changer? Don’t worry; we have the answer to all your questions. The following section of this article will talk about 3 excellent Siri voice changers that you can use to have fun. Let’s start!
1. Celebrity Voice Changer Parody
Do you know any Siri voice changer that can make you sound like a celebrity? If you want to do so, then ‘Celebrity Voice Changer Parody’ is a great option. You can instantly sound like your favorite celebrity by just speaking on the mic. The voice changer has a huge list of celebrities, and you can speak in English and return, get the celebrity voice.
Are you ready to know the best thing about this Siri voice changer? It promises to maintain the quality of your voice. It does not change the speed, pitch, or tone of your voice. With this, you can sound natural and normal yet like a celebrity.
Like Siri lets you sound like male or female, you can also sound like your favorite male or female celebrity. You only need a strong internet connection to use this Siri voice changer.

2. Live Voice Changer
Live Voice Changer is another Siri voice changer that is nice. With this voice changer, your iOS device transforms into a real-time voice changer. If you are bored with your normal life, then do some pranks with Live Voice Changer and call your friends to have fun. Something extra about the tool is that it is perfect for audio recording.
The voice changer is also great for use. You can use its equalizer, which is 12-band, so that you can sound natural and easily confuse others. With Live Voice Changer and its 15 reverb effects, you can polish your voice more beautifully. Another fascinating thing about this voice changer is that it supports Bluetooth.
The Siri voice changer is very easy to use. You don’t need any technical skills to use the voice changer as it is very clear and simple. Additionally, it is very good to change your voice for games too.

3. Funny Voice Effects & Changer
Who doesn’t want to have fun? Funny Voice Effects & Changer is such a platform that offers you endless fun and laughter. With this Siri voice changer, you can record your voice and apply cool effects. It provides various effects like alien, robot, ghost, male, female, etc.
After you have added your desired effects and filters, you can easily save your recordings from Funny Voice Effects & Changer once it has been modified. Not only this, but the voice changer also allows you to share your fantastic voice with your friends.

Wrapping Up
The article has shared great information reading Siri voice change on iPhone and iPad. Also, we talked about Siri voice change on Mac and gave its step-by-step guideline. Moreover, we shared 3 friendly Siri voice changers that are an amazing option to use.
Wondershare Filmora
Get started easily with Filmora’s powerful performance, intuitive interface, and countless effects!
Try AI Voice Changer Try AI Voice Changer Try AI Voice Changer Learn More >
02 How to Change Siri Voice on Mac?
03 3 Nice Voice Changer to Help You Do Siri Voice
For Win 7 or later (64-bit)
For macOS 10.12 or later
Part 1. How to Change Siri Voice on iPhone and iPad?
Whether you are driving, cooking, or whatever, there are various things that Siri can do to help you. Without lifting your finger, your tasks are done with Siri. An interesting thing with Siri is that you can select your preferred language style along with a voice that you like.
It is not at all difficult to change Siri’s voice on iPhone or iPad, but new iPhone/iPad users might get confused. Let us help you hereby sharing the steps to change Siri voice on your Apple device.
Step 1: To change Siri Voice, you need to start by opening the ‘Settings’ app on your iPhone/iPad. Once that is opened, scroll down and look for ‘Siri & Search.’ Tap on it when you locate it.
Step 2: Now, the ‘Siri & Search’ menu will appear on the screen. Here, you need to look for the ‘Siri Voice’ option and then select it.
Step 3: It’s time to change Siri’s voice. Start by selecting your accent under the ‘Variety’ section. You get American, British, Australian, Indian, Irish, and also South African accents.
Step 4: After you have selected a variety, it’s now time to select a ‘Voice’ from the given options. You can listen and choose your desired male or female voice. Your device will take some time to download the voice. Once that’s done, you are good to go.
Part 2. How to Change Siri Voice on Mac?
The amazing Siri function is not just for iPhone and iPad users, but Mac users can also get a great benefit from it. You can manage your small tasks with Siri without any trouble. It is ideal for everyday tasks. You can quickly make calls, send text messages, play your favorite music, and a lot more things could be done with Siri.
This section is for you for any Mac user who wants to change Siri Voice on their device but doesn’t know how to do it. Just follow the steps shared below to change Siri Voice on your MacBook.
Step 1: Start by opening the ‘System Preferences’ section from the Dock. You can also open it by firstly clicking on the Apple Menu and then, from the dropdown menu, select ‘System Preferences.’
Step 2: At this point, a new screen for System Preferences will appear. From that, you have to select the ‘Siri’ option. Now comes the fun part where you have to select the voice variety for your Siri. From the ‘Siri’ screen, click on ‘Voice Variety’ and select your desired voice variety from the list of options.
Step 3: After the voice variety, next is the voice, and for that, hit the ‘Siri Voice’ option. Here, you can select the vocals’ gender, the accent, and you are all done. Keep one thing in mind that not all voice varieties offer different voice options.
Part 3. 3 Nice Voice Changer to Help You Do Siri Voice
As much as Siri is helpful, you can also have equal fun with it. Do you know how that is possible? Have you ever heard about any Siri voice changer? Don’t worry; we have the answer to all your questions. The following section of this article will talk about 3 excellent Siri voice changers that you can use to have fun. Let’s start!
1. Celebrity Voice Changer Parody
Do you know any Siri voice changer that can make you sound like a celebrity? If you want to do so, then ‘Celebrity Voice Changer Parody’ is a great option. You can instantly sound like your favorite celebrity by just speaking on the mic. The voice changer has a huge list of celebrities, and you can speak in English and return, get the celebrity voice.
Are you ready to know the best thing about this Siri voice changer? It promises to maintain the quality of your voice. It does not change the speed, pitch, or tone of your voice. With this, you can sound natural and normal yet like a celebrity.
Like Siri lets you sound like male or female, you can also sound like your favorite male or female celebrity. You only need a strong internet connection to use this Siri voice changer.
2. Live Voice Changer
Live Voice Changer is another Siri voice changer that is nice. With this voice changer, your iOS device transforms into a real-time voice changer. If you are bored with your normal life, then do some pranks with Live Voice Changer and call your friends to have fun. Something extra about the tool is that it is perfect for audio recording.
The voice changer is also great for use. You can use its equalizer, which is 12-band, so that you can sound natural and easily confuse others. With Live Voice Changer and its 15 reverb effects, you can polish your voice more beautifully. Another fascinating thing about this voice changer is that it supports Bluetooth.
The Siri voice changer is very easy to use. You don’t need any technical skills to use the voice changer as it is very clear and simple. Additionally, it is very good to change your voice for games too.
3. Funny Voice Effects & Changer
Who doesn’t want to have fun? Funny Voice Effects & Changer is such a platform that offers you endless fun and laughter. With this Siri voice changer, you can record your voice and apply cool effects. It provides various effects like alien, robot, ghost, male, female, etc.
After you have added your desired effects and filters, you can easily save your recordings from Funny Voice Effects & Changer once it has been modified. Not only this, but the voice changer also allows you to share your fantastic voice with your friends.
Wrapping Up
The article has shared great information reading Siri voice change on iPhone and iPad. Also, we talked about Siri voice change on Mac and gave its step-by-step guideline. Moreover, we shared 3 friendly Siri voice changers that are an amazing option to use.
Wondershare Filmora
Get started easily with Filmora’s powerful performance, intuitive interface, and countless effects!
Try AI Voice Changer Try AI Voice Changer Try AI Voice Changer Learn More >
Also read:
- Updated No-Cost Melodies Your Guide to Finding and Downloading Free Audio Music
- Updated Omegle Exclusion No More Strategies for Removal From the Blacklist
- Updated 2024 Approved Customizing Your Siri A Guide to Altering Siris Voice Across iOS Devices
- Updated Harmonizing Acoustics and Imagery Find Out the Top 5 Integrated Sound/Visual Devices for 2024
- Updated Discover Chilling Acoustic Phenomena
- New 2024 Approved Crafting Professional Productions Techniques of Audio Ducking and Fading with PowerDirectorutility
- Locating Broken Glass Disturbance Noise for 2024
- Updated Removing Background Music and Sounds From New AVI Files for 2024
- 2024 Approved Guide to Choosing the Ultimate Android Audio Recording Software (With Free Options)
- New How to Make Beats for Your Music Videos?
- In 2024, Unlocking Creative Power in Logic Pro X with These Top 8 Plugins
- New 2024 Approved IMovie for Newbies A Comprehensive Tutorial on Adding Audio
- New Audio Isolation Techniques in Adobe Premiere Pro Explained
- New In 2024, Top 10 Speech Recording Apps for Android Smartphones - A Comprehensive Guide
- In 2024, The Essential List of Top 10 Gratis Audio Capture Software Tailored for Modern Podcasters
- Top 8 Essential Audio Treasures in the Gaming World
- Ultimate Guide to Auditory Separation From Visual Media The 2023 Methodology
- Updated 2024 Approved Expert Strategies for Oscillating Between Silence and Sounds in OBS Broadcasting
- Updated In 2024, Your Companion Guide Top 10 Audio-Transcription Software For All Budgets
- Updated Thorough Exploration of Nero SoundEditing Suite for 2024
- Updated 2024 Approved Silentizer Xtreme Revolutionize How You Listen and Edit Media
- 2024 Approved Winning the Acoustic Illusion Techniques for Adding Delay and Echo via Web-Based Audio Tools
- Updated 2024 Approved Speedy Strategies to Rectify Audio Imports in Adobe Premiere Pro
- New The Art of Crystal Clear Audio Removing Unwanted Frequency Alterations in Film and Videos for 2024
- Updated Essential Techniques Effective Chromebook Audio Capture in 7 Steps for 2024
- New Advanced Audacity Editing Adjusting Pitch Without Audio Degradation for 2024
- A Detailed Guide on Faking Your Location in Mozilla Firefox On Nokia C300 | Dr.fone
- Top 3 Ways to Create Gif Images with Great 3D Gif Maker for 2024
- New The Ultimate List of 3D Video Makers Free, Paid, and In-Between for 2024
- New Get the Best Video Editing Experience on Windows 8 and Above for 2024
- New Detailed Steps to Rotate Videos in Lightworks
- Complete guide for recovering video files on Honor X9a
- Tips And Tricks To Tell if Your iPhone X Is Unlocked
- 5 Techniques to Transfer Data from Infinix Zero 30 5G to iPhone 15/14/13/12 | Dr.fone
- How to Put iPhone 12 Pro or iPad on Recovery mode? (Step by Step Tutorial) | Stellar
- New The Ultimate List of Free MP4 Video Cutter Tools
- Full Tutorial to Bypass Your Xiaomi Redmi K70E Face Lock?
- In 2024, How to Change your Honor X50 GT Location on Twitter | Dr.fone
- New 2024 Approved How to Become a Youtuber?
- What is Geo-Blocking and How to Bypass it On Apple iPhone 14 Plus? | Dr.fone
- Why is iPogo not working On Oppo A56s 5G? Fixed | Dr.fone
- In 2024, What Is an AI Video Generator?
- 2024 Approved YouTube Live Selling Boost Your Sales With These Tips
- How To Check if Your Vivo T2x 5G Is Unlocked
- In 2024, How to Track WhatsApp Messages on Vivo T2 5G Without Them Knowing? | Dr.fone
- How to Rescue Lost Pictures from Motorola G54 5G?
- How To Leave a Life360 Group On Oppo K11 5G Without Anyone Knowing? | Dr.fone
- In 2024, How To Change Your SIM PIN Code on Your Vivo S17e Phone
- Android Screen Stuck General Oppo Find X6 Pro Partly Screen Unresponsive | Dr.fone
- In 2024, How to Get and Use Pokemon Go Promo Codes On Apple iPhone 13 Pro | Dr.fone
- What Slideshow Templates Can Teach You About Aesthetic for 2024
- 5 Ways to Track Lava Yuva 2 Pro without App | Dr.fone
- Title: Updated 2024 Approved Navigating the Nuances of Silence Introduction and Conclusion in iMovie Videos
- Author: Paul
- Created at : 2024-05-05 05:58:44
- Updated at : 2024-05-06 05:58:44
- Link: https://voice-adjusting.techidaily.com/updated-2024-approved-navigating-the-nuances-of-silence-introduction-and-conclusion-in-imovie-videos/
- License: This work is licensed under CC BY-NC-SA 4.0.
